For the second prompt of the second semester studio class I wanted to do something that would push my comfort zone so I chose to start a project working with silk fabric and eco-dye techniques (dying with natural plants found in this area) which will be sewn into a dress. After talking with my instructor she encouraged me to spread out the project so I decided to focus on the eco-dying for prompt two and save the sewing for later.
The challenge for me isn’t the action of dying but rather slowing down the process and taking time to be with it and be with slowness as well as storytelling. I have to admit this was an incredibly hard challenge. I am not good at being slow. It’s easy for me to come up with an idea, strategize and execute with as little thinking as possible. Ideate first and then just stick to the plan. Slowing down and being present every step of the way brings up a lot of emotions around not being fast enough, not being good enough, not feeling productive, not being successful. Given the different approach to this project it was really hard for me to even tell if I did an exceptional job of this prompt or hardly passed. But upon retelling the unfolding of prompt II I realized how many challenges I overcame how many feelings I worked though and how many things I experienced to get this done in a way I could be proud of. I think this is a prompt I am going to be exercising again in my own time.
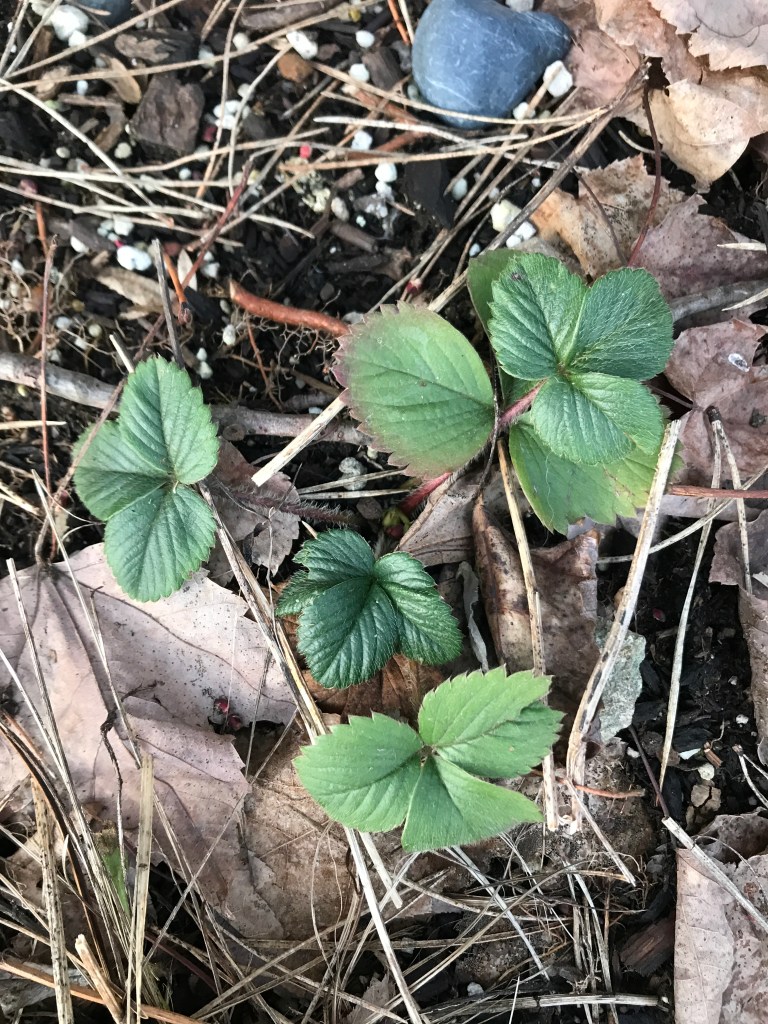
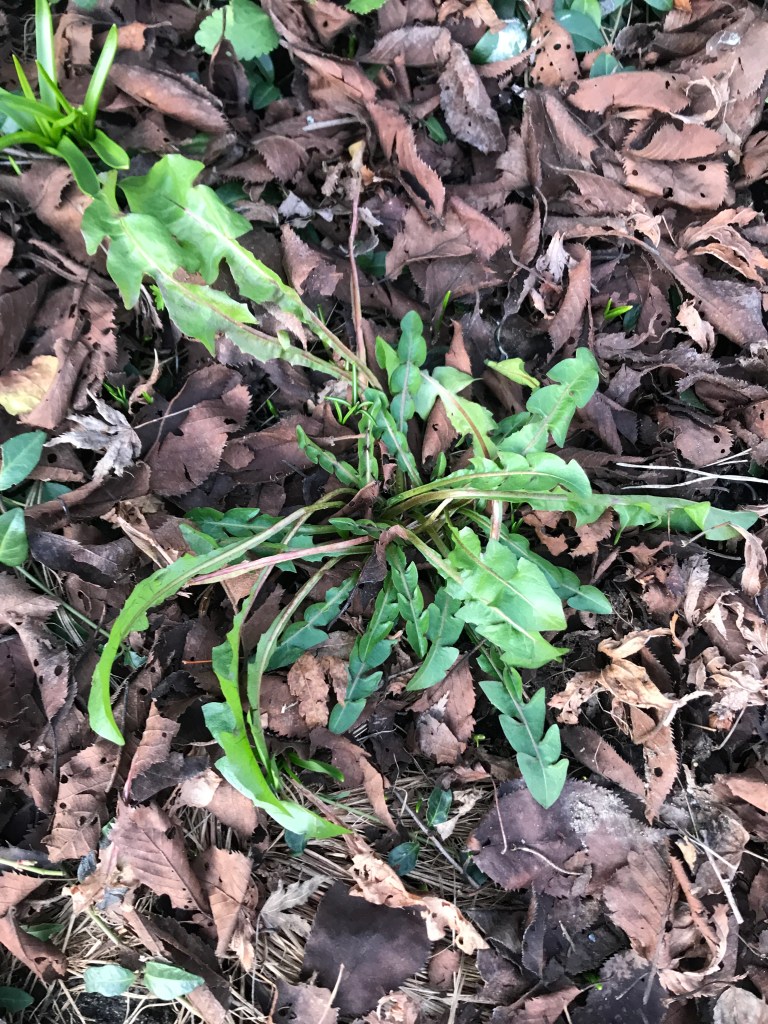
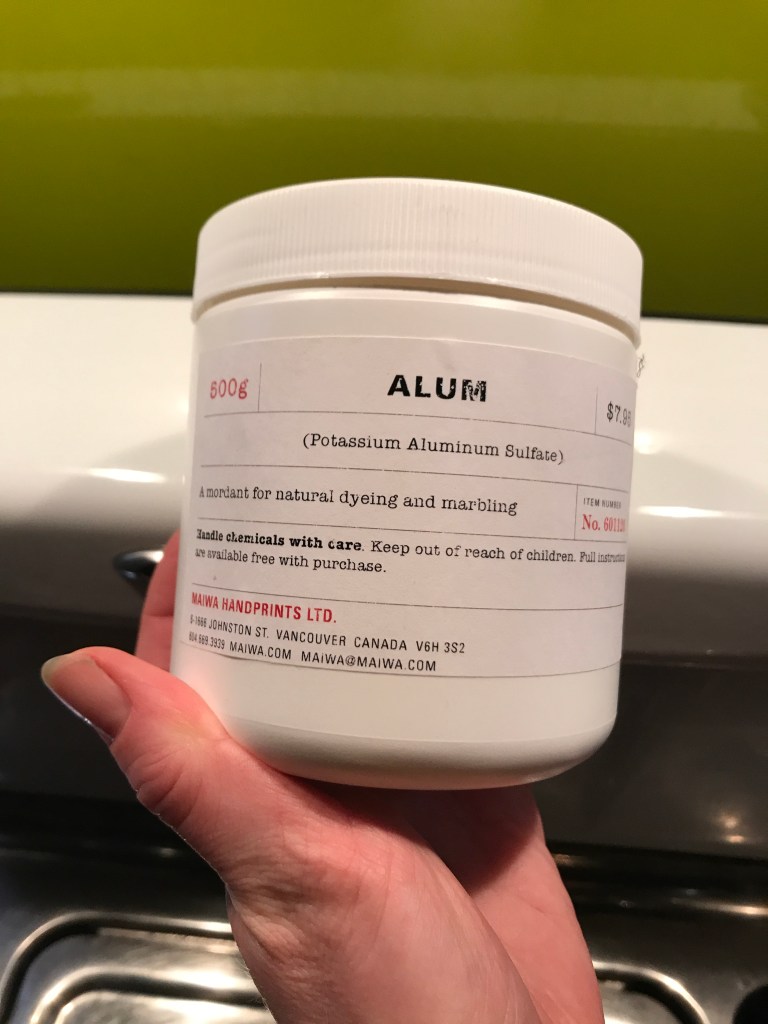
The first challenge I faced, other than slowing down time, was what is available in my region this time of year I can use as a dye material. Unfortunately there wasn’t much. But luckily fabric is readily available in our region, as long as one is willing to work with imports. I went to Mai Wa on Granville Island and bought some stunning Silk Charmeuse. It has a beautiful shine on one side and a matte back.I had a lovely conversation with the woman at Mai Wa who really wanted to help me with the limited supply of local dyes growing right now by encouraging me to use some of theirs. Although she was an incredibly helpful and knowledgeable woman most of what she was recommending would need to be purchased (perhaps from Mai Wa) and I was interested in using what I could hunt and gather. If it couldn’t be from the side of the road or an empty lot I wanted to grab it from the kitchen. I also used some Silk Habitué fabric from Kendor, one of the local silk suppliers. It was half the price of Mai Wa but not as beautiful with a bit more of a transparency to it.


Next I did some research into what is available in our area this time of year online. I came up with a pretty inspiring list. Though there were more things that could be found locally I read about online these are the items I planned to find in my area.
From the Area:
- Blackberry leaves
- Dogwood leaves
- Dandelion
- Grape leaves
- Japanese maple
- Maple
- Clover
- Rose leaves
- Maybe gingko
- Willow
- Apple
- Pine needles
- Mushrooms
But when I went to find some of these things outside during my walks I was sadly disappointed at the results. What I found was mostly brown and mushy. I prioritized black berry leaves, clover, mushrooms and grape leaves. I did find a few dandelions but they were always in really questionable spots (who has been peeing here?).

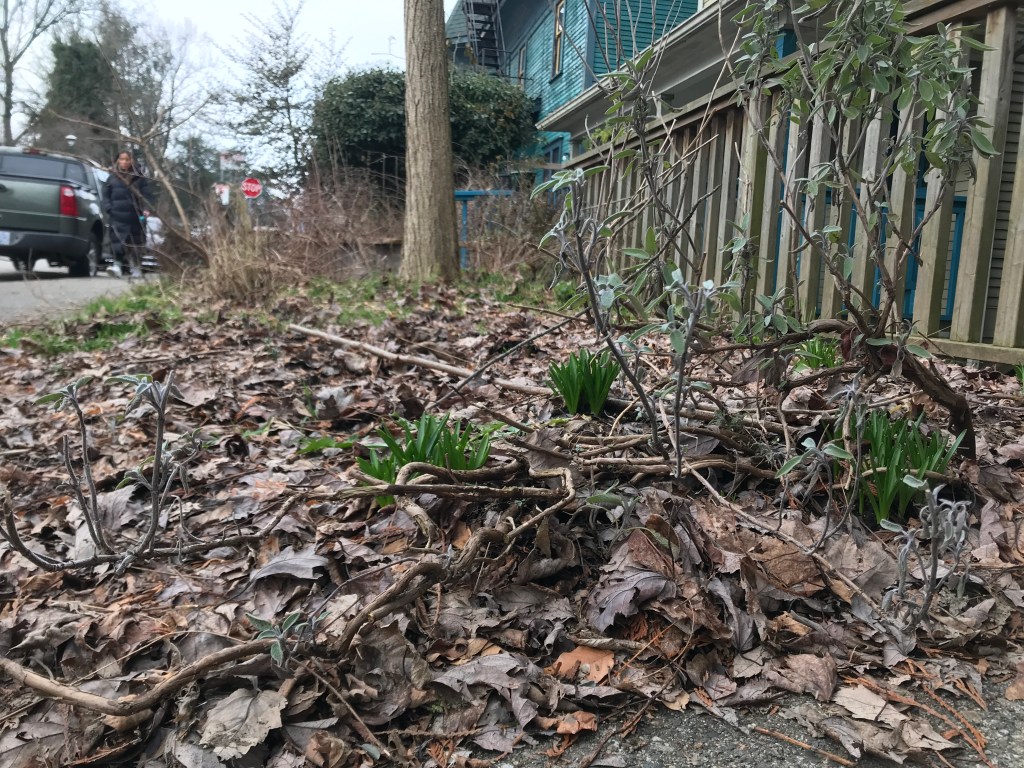

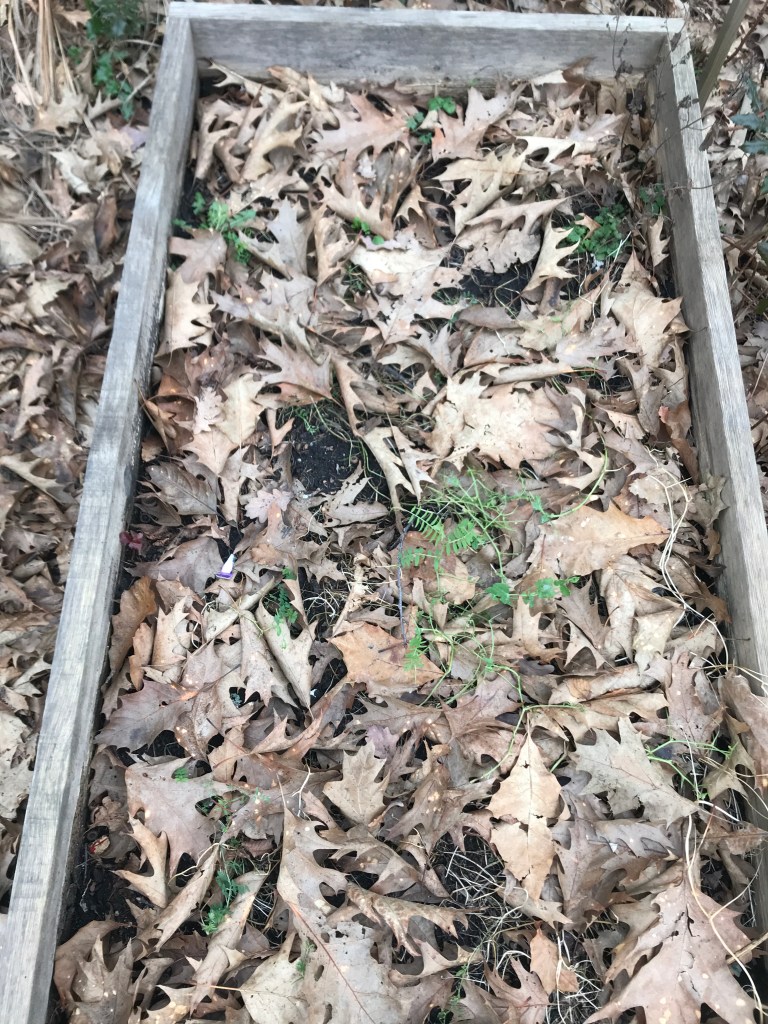
I did go for quite a few short walks during this time. I also made big plans for a hike and to gather on the way to school but cut short on time going to school with a really busy week and not finding any stunning mushrooms in the forest I aborted these missions. I would have picked just about anything in any condition I had to if it wasn’t for the fact that I already have some items at home I have been saving for just this kind of project.
From My Collection:
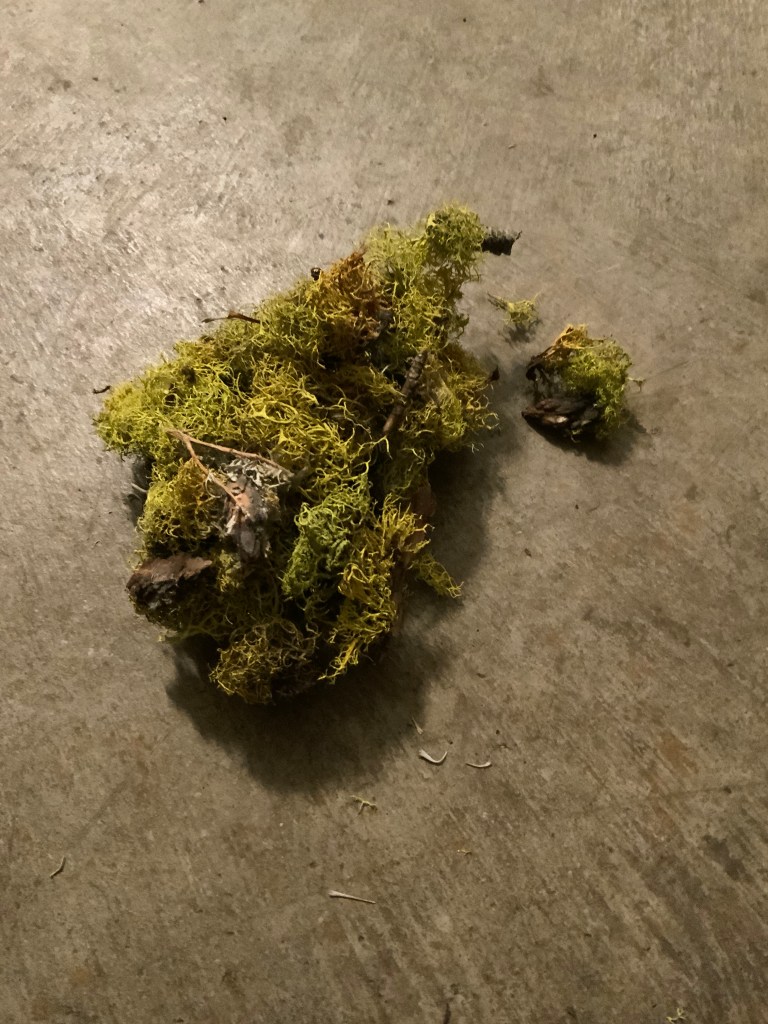
-Lichen
-Eucalyptus
-Avocado pits
-Rusty nails and other pieces of metal soaking in vinegar water
I also decided I would like to try soaking some of the cedar needles from my back yard in some of the rusty water to see if that has any effect. I have a lot of fabric and not a lot of supplies so I also reached out for some help.
First I contacted Caitlin Ffrench who is a professional eco-dyer and natural paint maker in Vancouver I am familiar with for some help with what is available in our environment. Caitlin’s work is unbelievably inspiring! I try to invoke her in a lot of my work. I have had her do demonstrations for classes I have taught and she is always the most popular speaker of the semester!
Not wanting to overwhelm myself with results I contacted a few restaurants but I was surprised how slowly they got back to me and how few of them could actually help. I asked them if they could save up some avocado pits or onion skins for a few days for me to collect. Finches did sent a positive response but they hadn’t confirmed a date for pickup by the time I started dying.
Restaurants I emailed:
-The Heatley
-The Garden
-Strathcona Brewery
-Finches
-Tacofino
The next easy step was to scour the fabric which is the process of washing any sizing or other chemicals out of the fabric so it is clean. I use to do this by hand as is always recommended but I have switched, in recent years to the washing machine on cold because it does a great job and I have a gentle washing machine. This is an easy but important step.
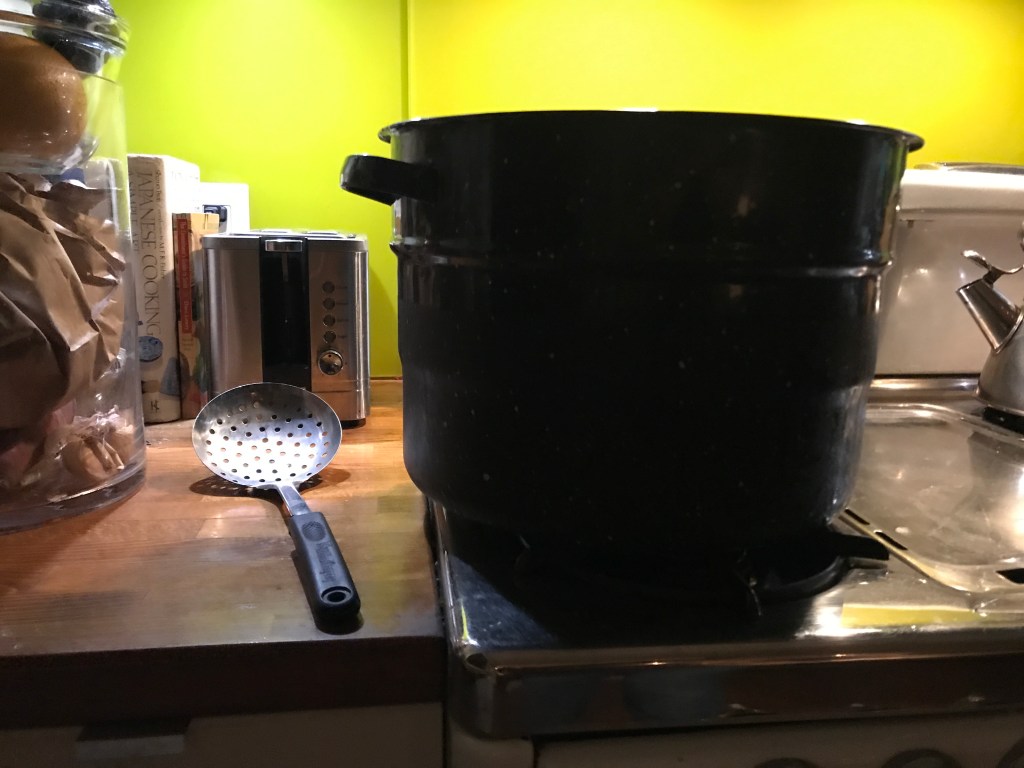
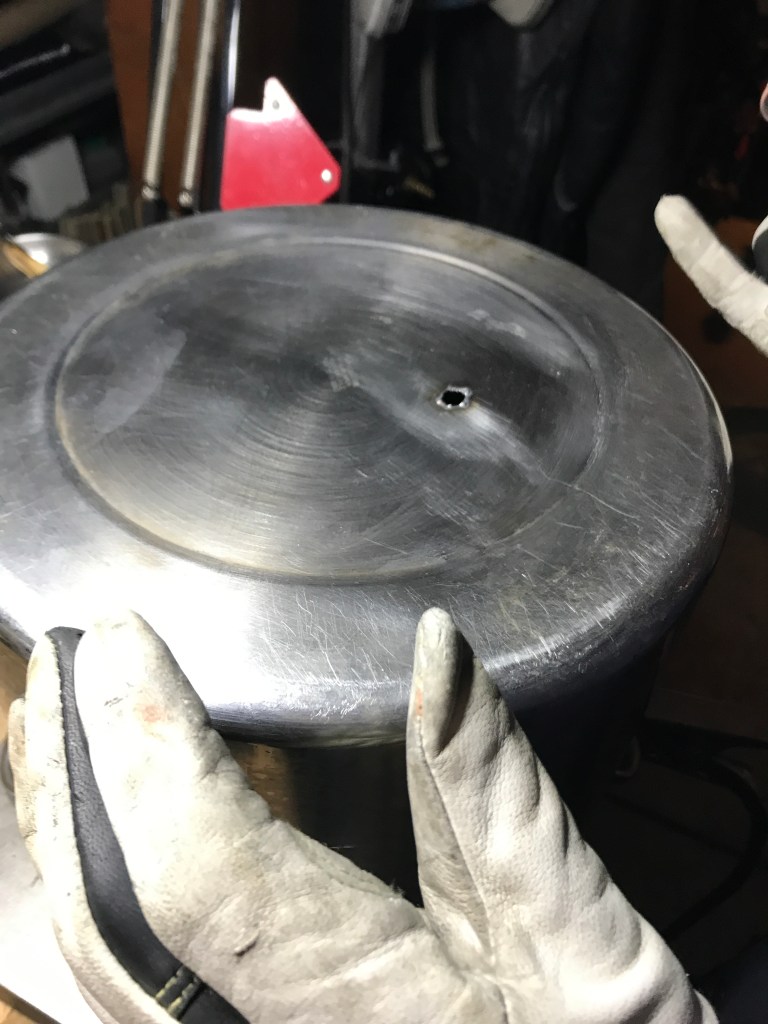
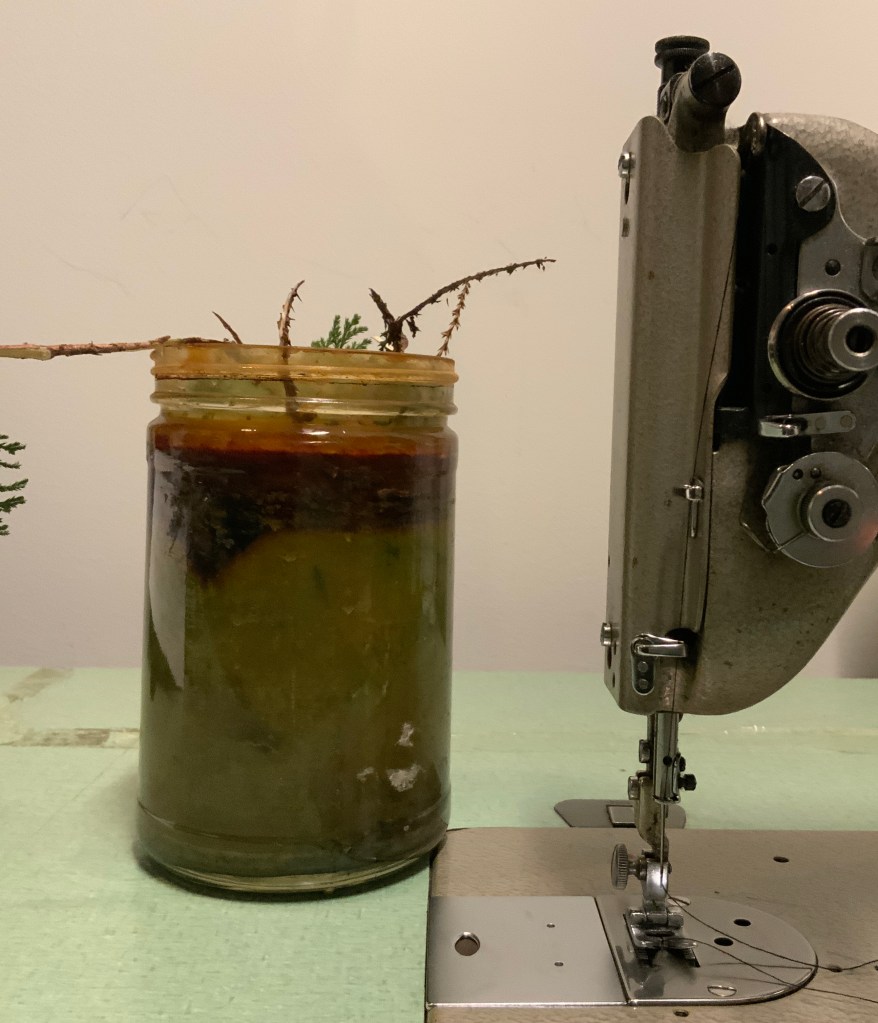
One of my other barriers is that my dyepot had a tiny little pin hole in it. All common advise is to dye with anything in a well ventilated area so I use a burner in my studio to keep the dye out of the house. It is an induction burner so it only works with stainless steal. My partner agreed to weld it and fix it for me but he is also busy so this kept getting put off. A good dyepot in stainless steal is expensive or hard to come by used so I didn’t want to buy a new one just to ruin it with dye (dye pots are no longer food safe once you use them for any dye). I waited and waited and asked and asked. I didn’t want to pester him and be annoying so finally on Monday the Jan 31st I couldn’t wait any longer. If I wanted to get this project done so I got out an old dyepot which is enamel and doesn’t work on my burner. I started mordanting my fabric in my house on my stove. About half an hour in my partner started feeling sensitive about his lungs. I mordant with Alum which is used in canning and as an additive to water but there is a lot of information online that still advises against boiling it in poor ventilation. So given the deadline for this project racing he so kindly jumped up and decided to try to fix the pot for me. This also provided me with a great experience for the sake of my project.

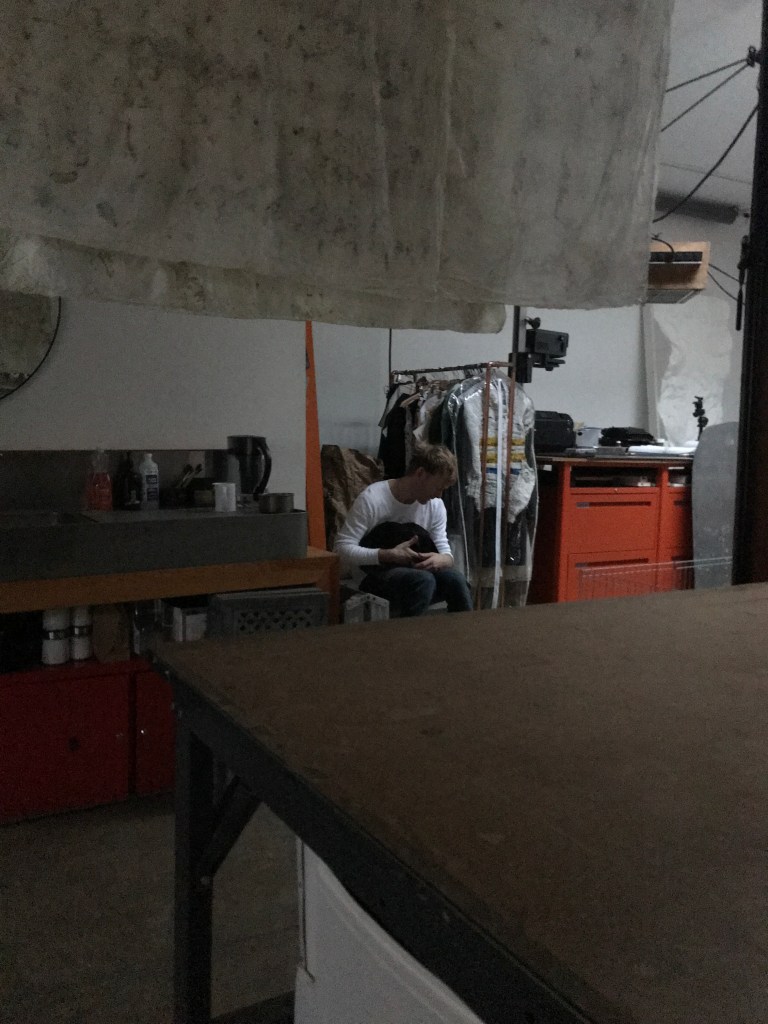
Another barrier to fixing the pot was that we have a sick chicken who is living in the studio right now trying to get better and we are very worried about doing things like welding around her. We were both hoping she would be better before the welding took place but we just covered her in a cage and went for it. The style of welding he, Gregory, did is called Tigg welding. I don’t know much about it but I know he loves it because it’s all about keeping everything clean and he is a cleaning master. The pot was pitted all over the bottom. I just bought it recently from a woman off Facebook Market Place and didn’t check for holes. I didn’t think I had to. He worked for hours on the pot making and fixing some new holes along the way. I tried to take some creative shots because I can’t look at welding while he does it unless I don’t mind the damage to my eyes (which I do).


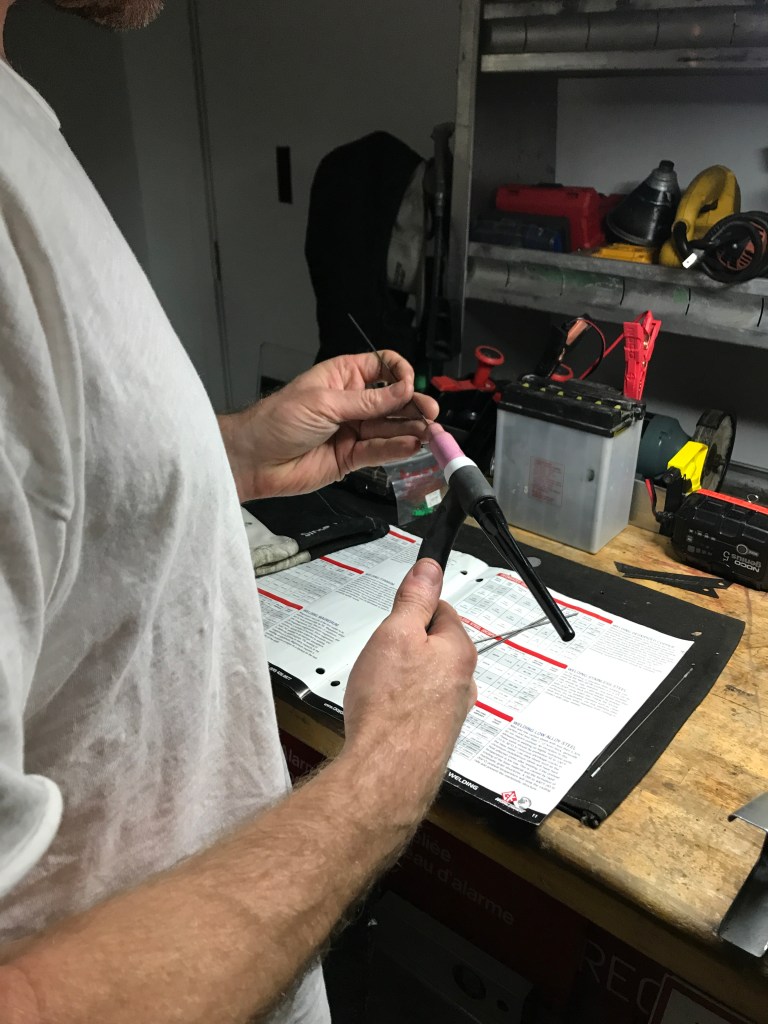

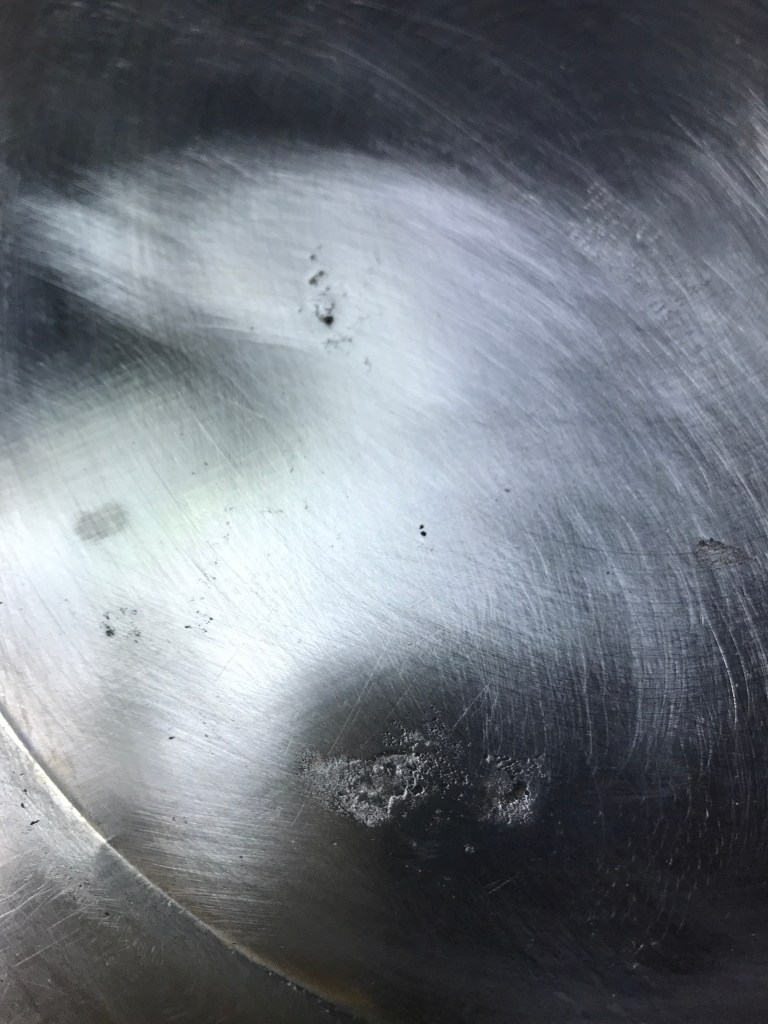
Unfortunately my partner is also pretty new to Tigg welding and when I got out of school on Tuesday the pot had a new hole in it and we were out of welding gas. After a bike ride along the seawall for one final attempt to find some dye plants we rode to Canadian Tire and bought a new pot. I was lucky to be accompanied by Gregory because I had the perfect pot picked out before he reminded me to check the lable on the pot I was buying to make sure it worked with induction. It did not! So I found one that did. Oh thank god! If he hadn’t pointed that out I wouldn’t have been able to dye anything.
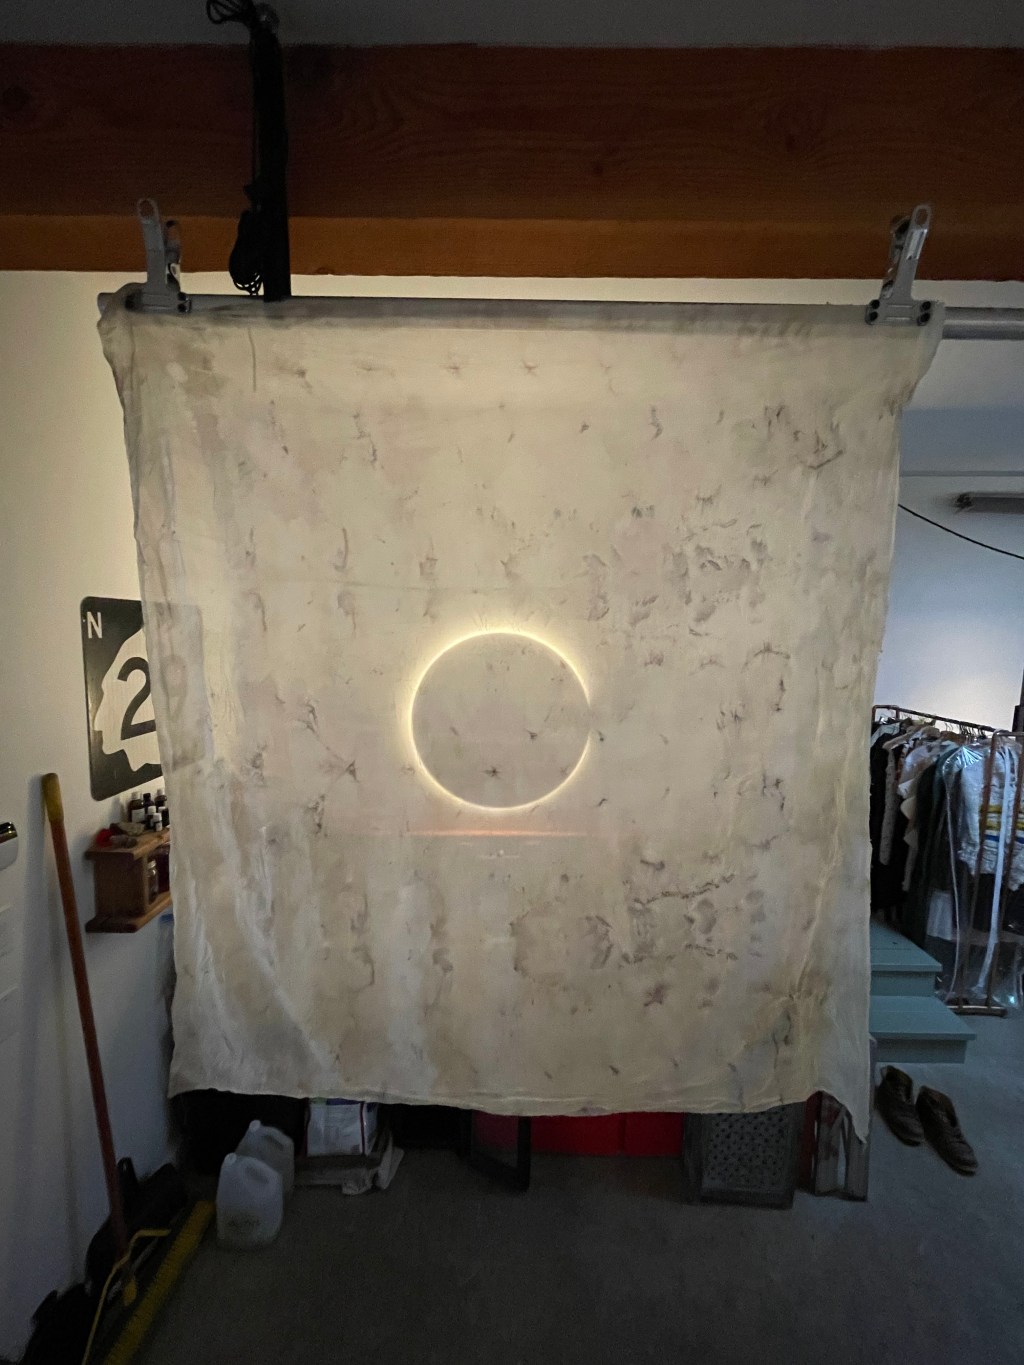
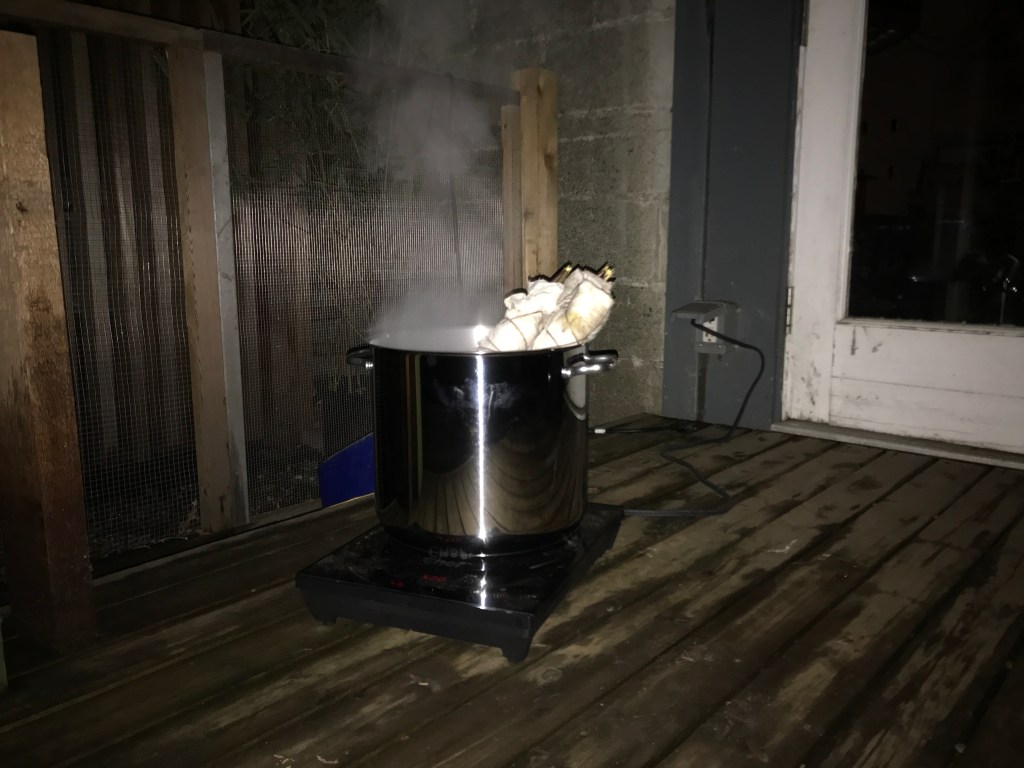
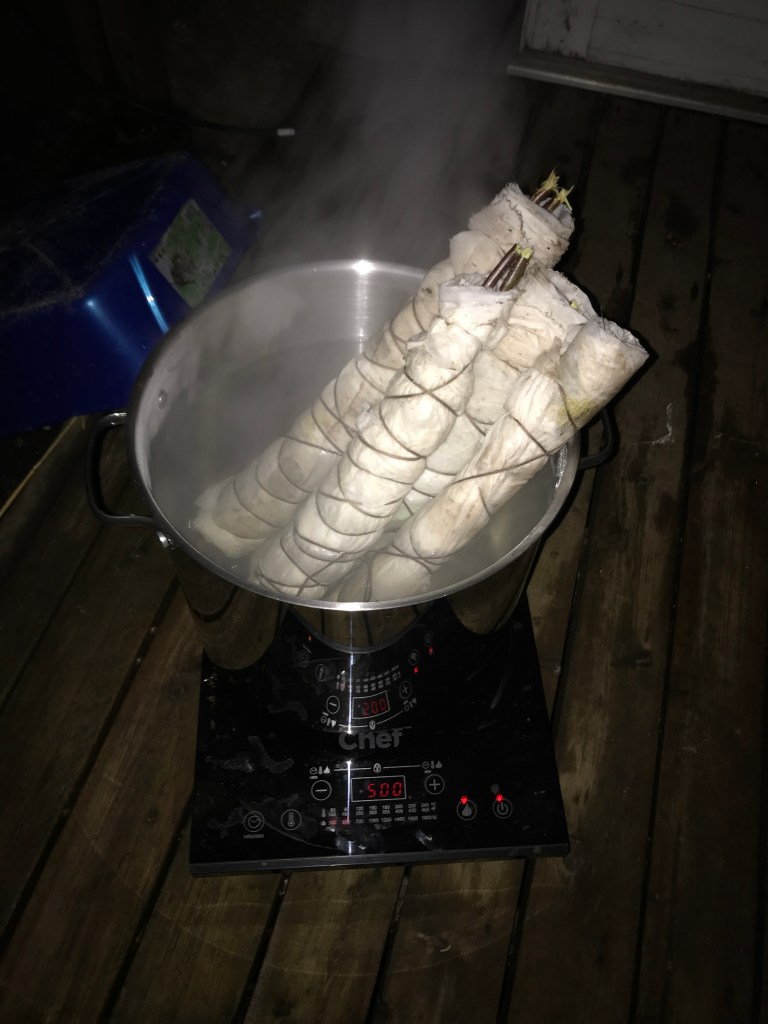
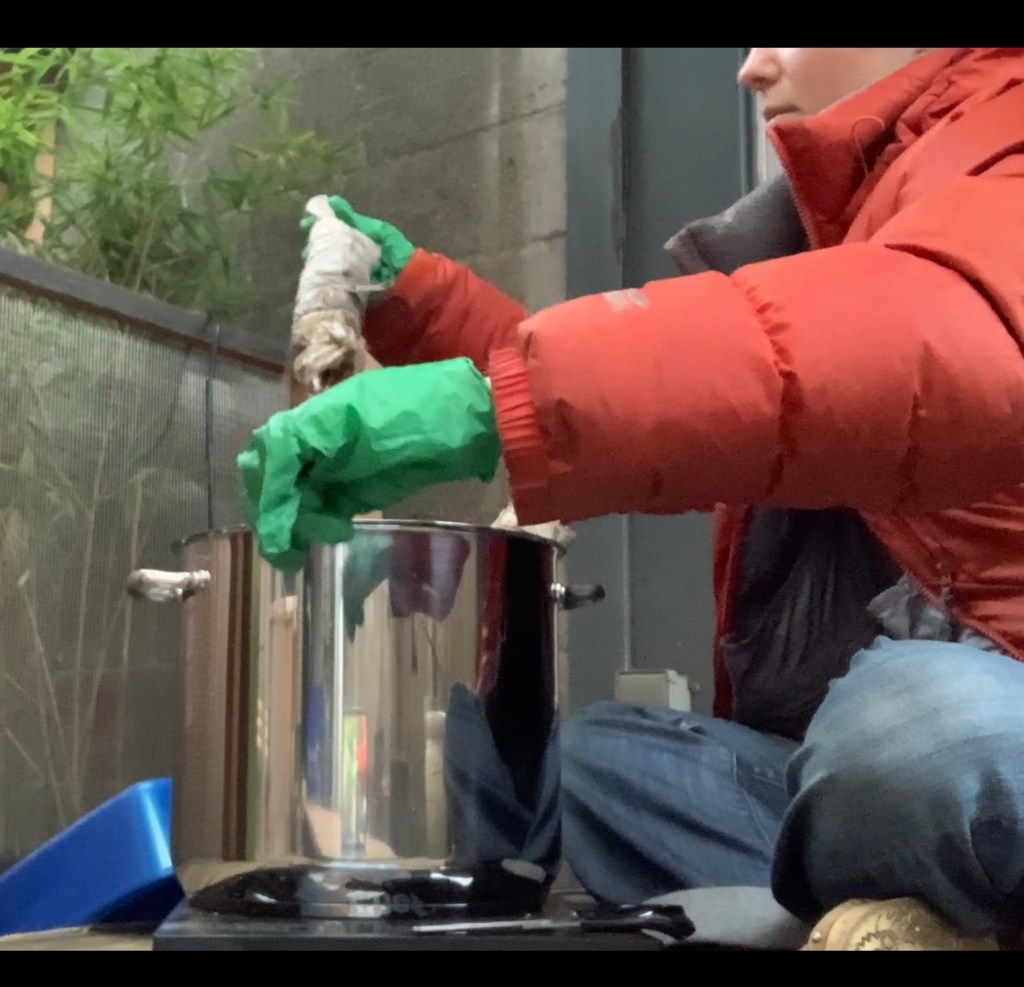
Finally set with my new pot, my mordanted silk, and my previously collected dye stuff I was ready to dye. I dyed the fabric outside at night outside for a large part of it so I didn’t get great photos but I did try to document the process. We chose to do this to protect the chicken from any fumes the off gassing produced. But I was able to make my bundles in the studio before popping them into the pot.


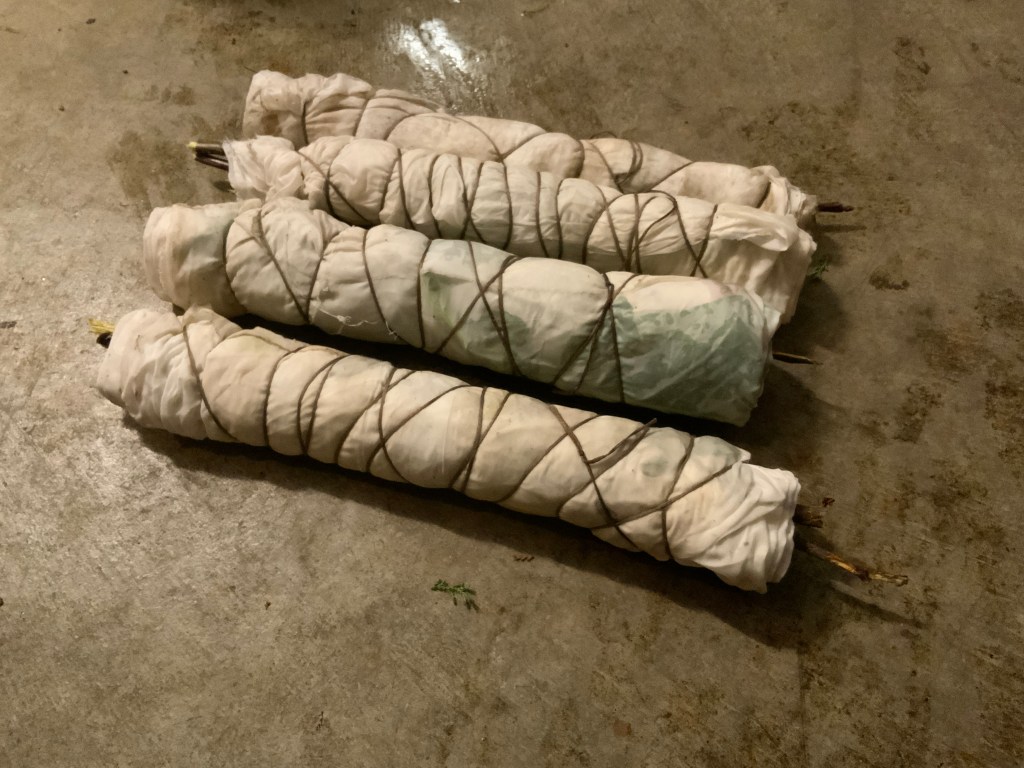
I started by laying the wet, mordanted fabric right side up on the concrete floor in my studio. I don’t have a lot of space to lay it out but I don’t need al of space anyway. I then started to lay my plants on my fabric. I was torn between letting serendipity reign and letting the leaves fall where they would and meticulously placing them where I think they might be the most visible once I sew them together. I did a little bit of both. While I was laying it out and documenting it I wanted to demonstrate productivity (an emotional reason realized in hindsight) by laying out lots of plant matter as opposed to just a sparse layer. Once the plant matter was on the fabric I folded the fabric in half twice then rolled it tightly into bundles using apple sticks my dad had recently given to me to feed to my rabbits.


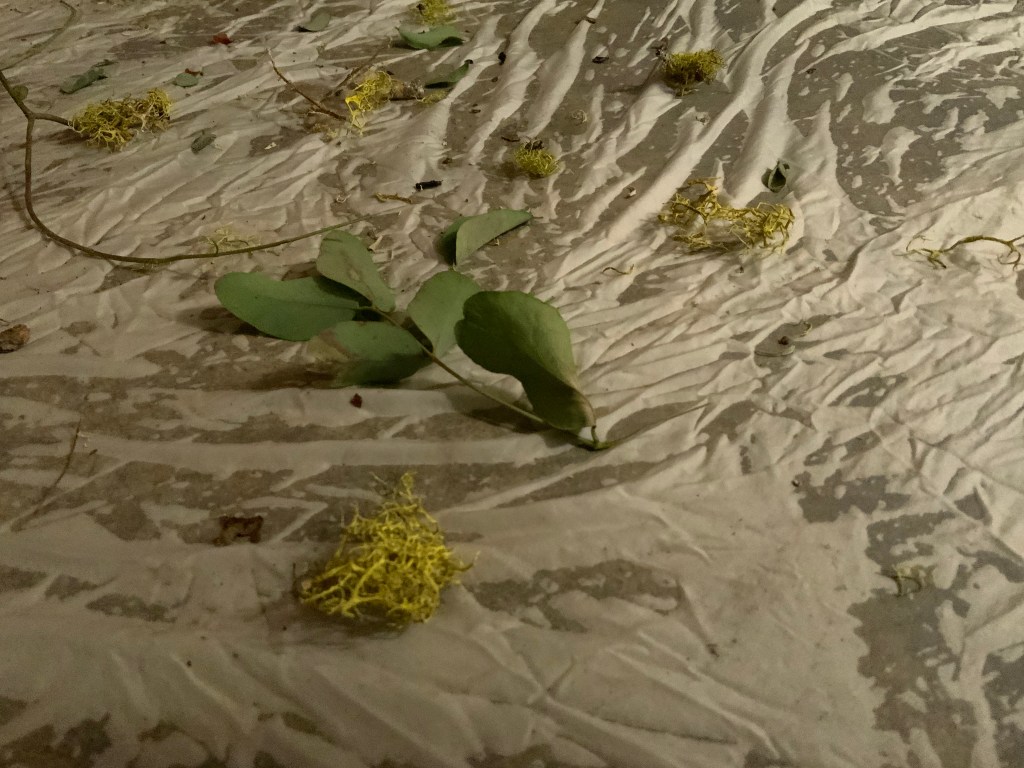
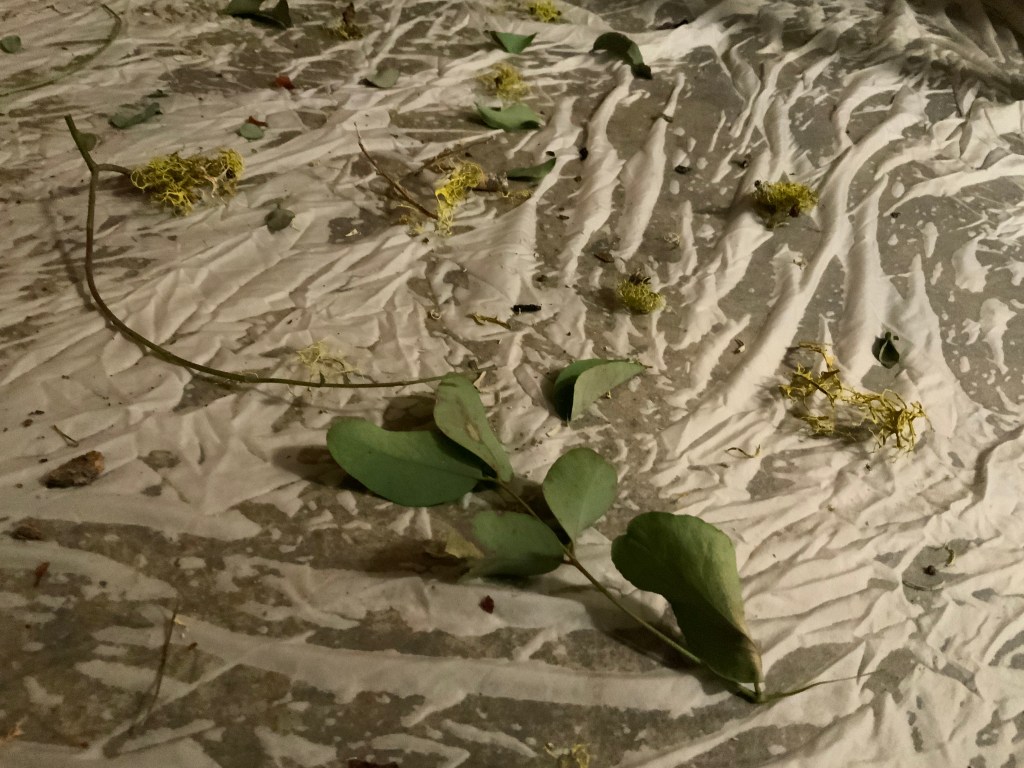

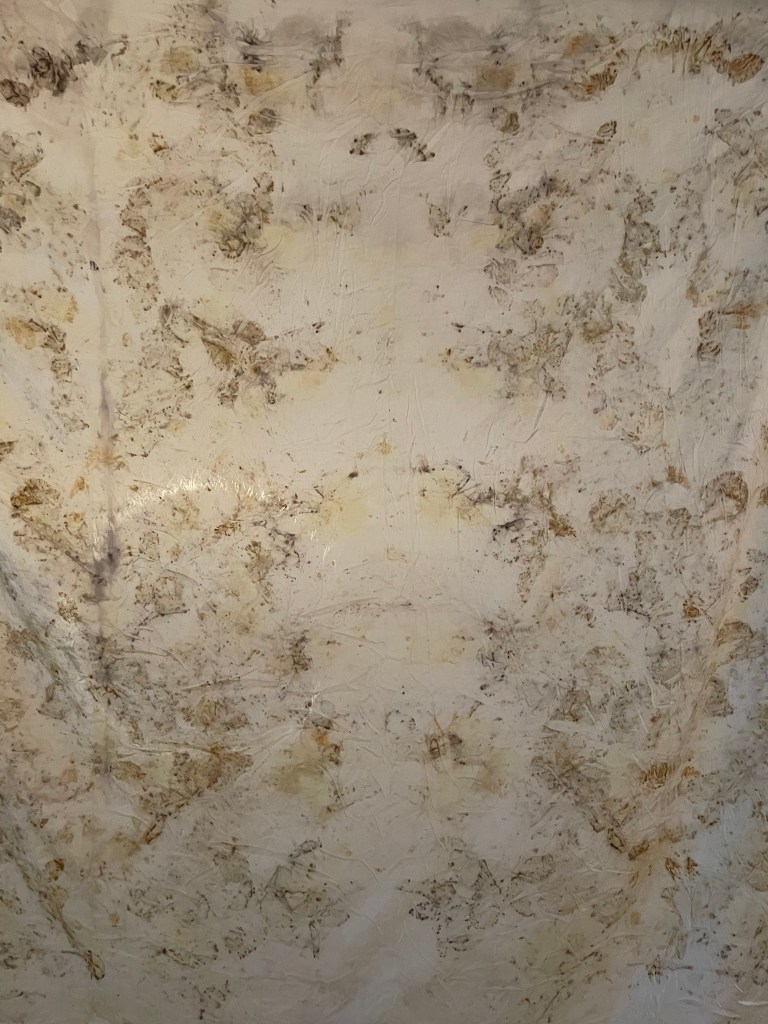
I made 4 bundles. The first two bundles were done with eucalyptus and lichen. One was on the habatoui silk and the other was on the chiffon. It was hard to tell the difference between the different fabrics as well as the different sides of the fabric but I think I managed to do it right. The habatoui silk bundle also used pieces of the avocado pits shells that were flaking off the pits just to see what would happen but they were largely unnoticeable.. I then made a bundle with cedar soaked in metal water hoping I would get some nice black flecked fabric. The final bundle was made with an old bundle of rainbow chard from our fridge. I was curious what it would look like.
Once I had everything bundled I felt like I wish I had been more sparring with the plants so the fabric would be mostly white with less plant structure more disbursed throughout as I was originally visualizing in my head. As we get closer to spring and more plants pop up I am sure I will be dying more fabrics so this is a passing and vague regret.


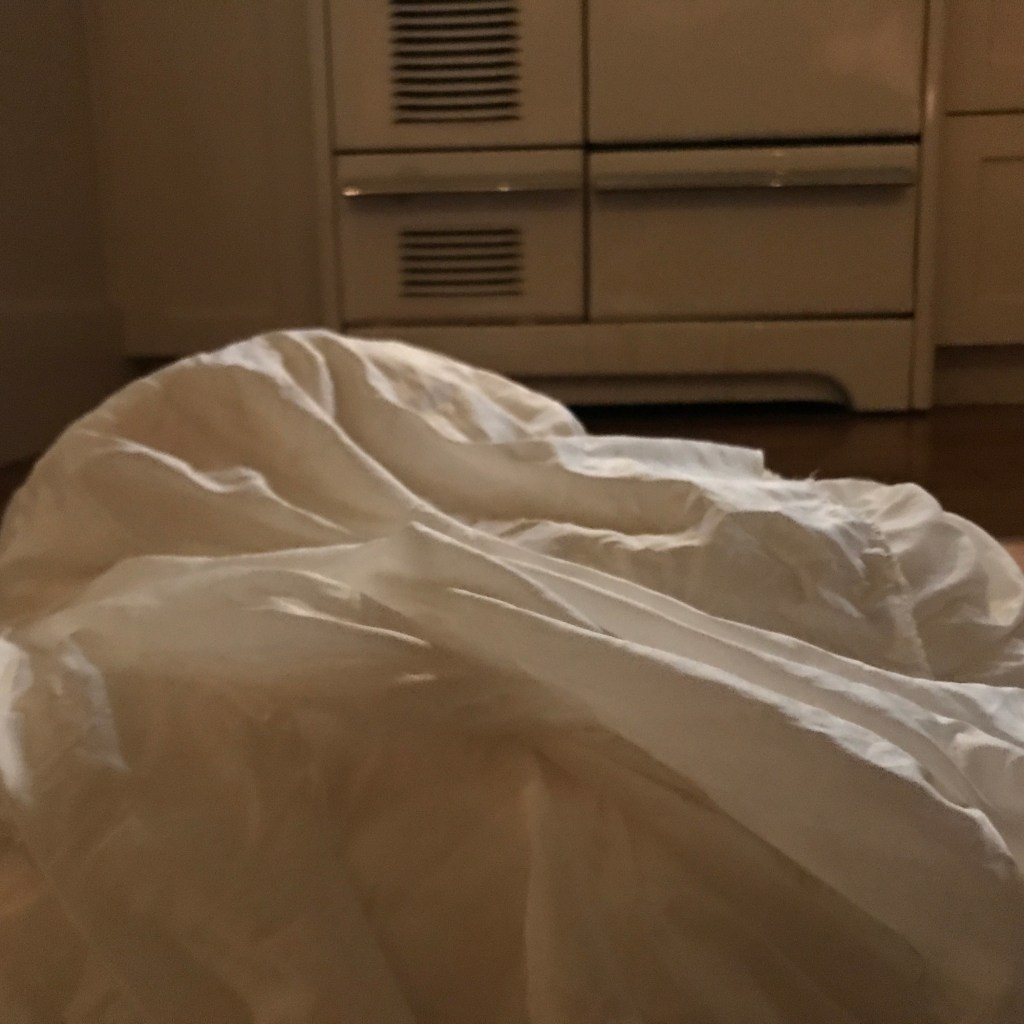
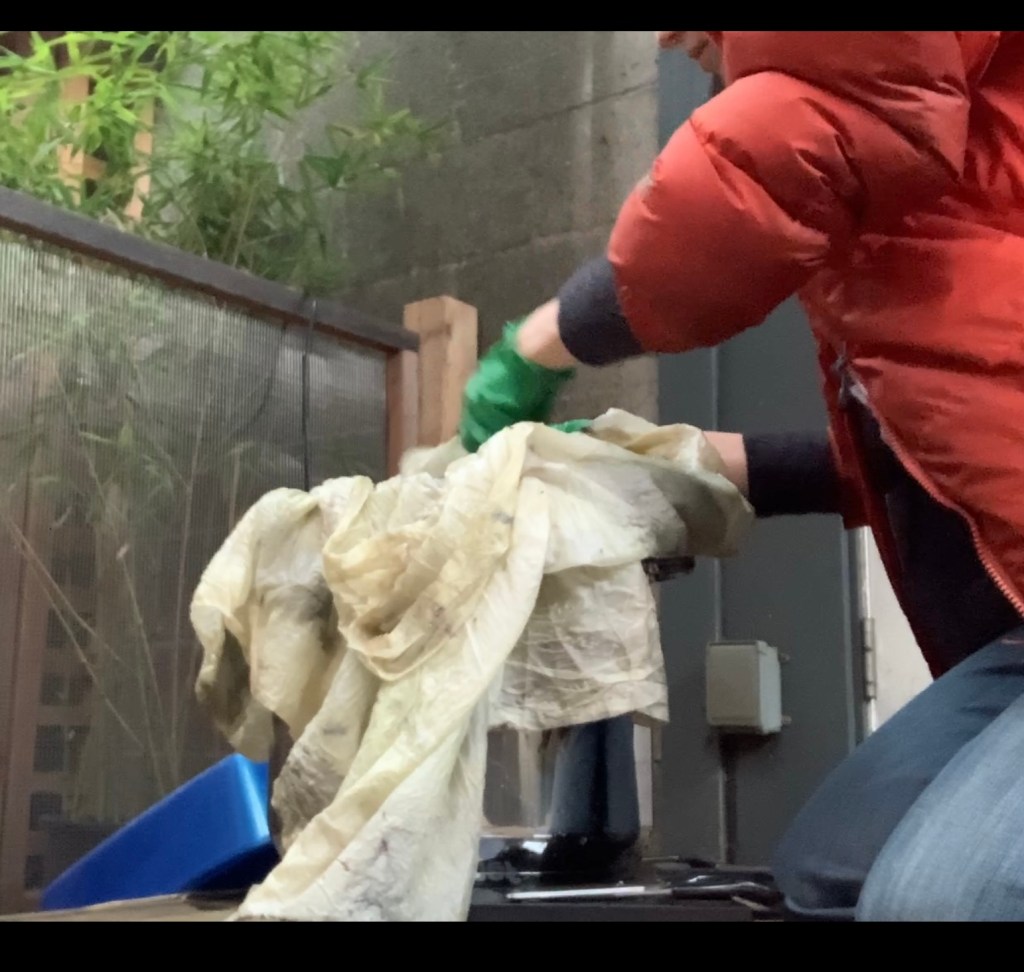
I simmered the bundles in a pot of water on the porch outside the studio (remember, saving the chicken from exposure). From 8:30 to 10:30 I checked on the pot and rotated the bundles every half hour making sure they we’re thoroughly simmered and steamed. I then left the pot of bundles soaking over night. I would usually leave things steaming longer but I have been having a lot of early mornings and just couldn’t bring myself to stay up any later.

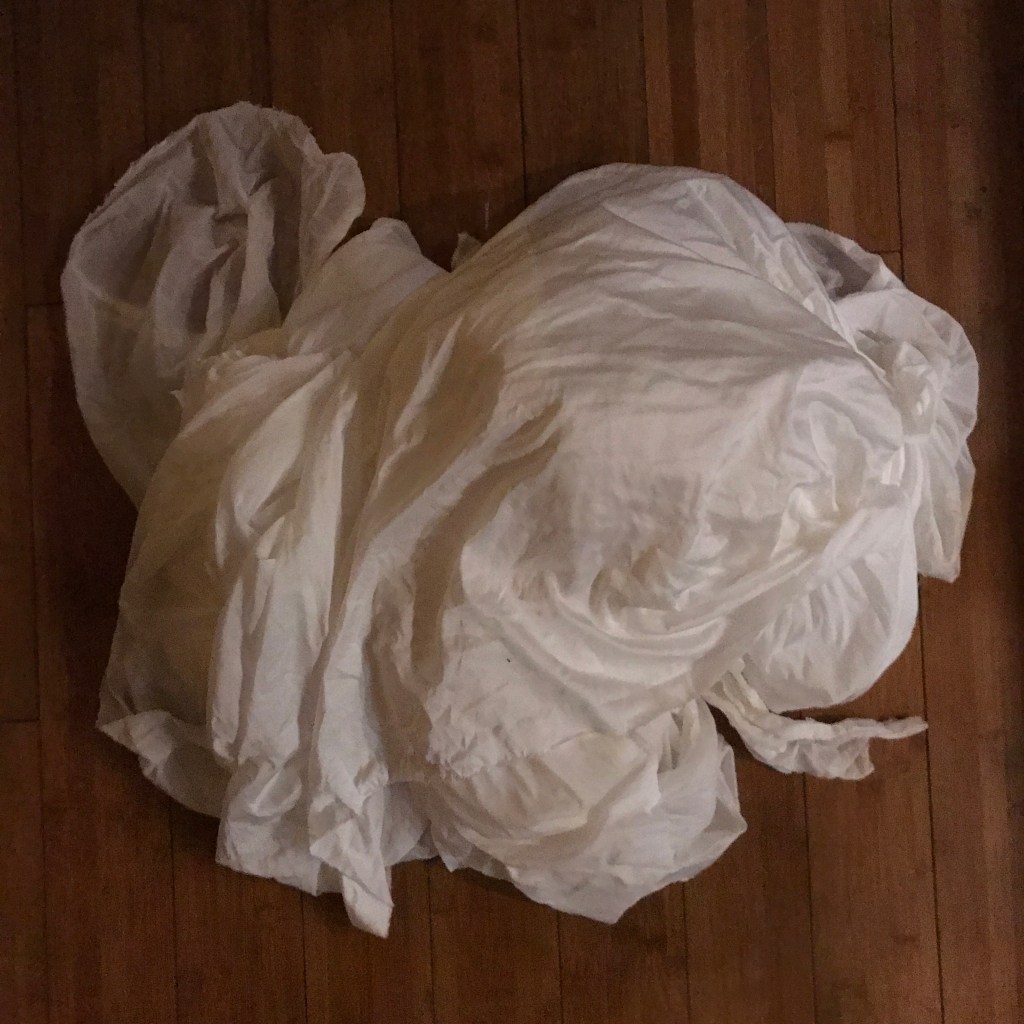
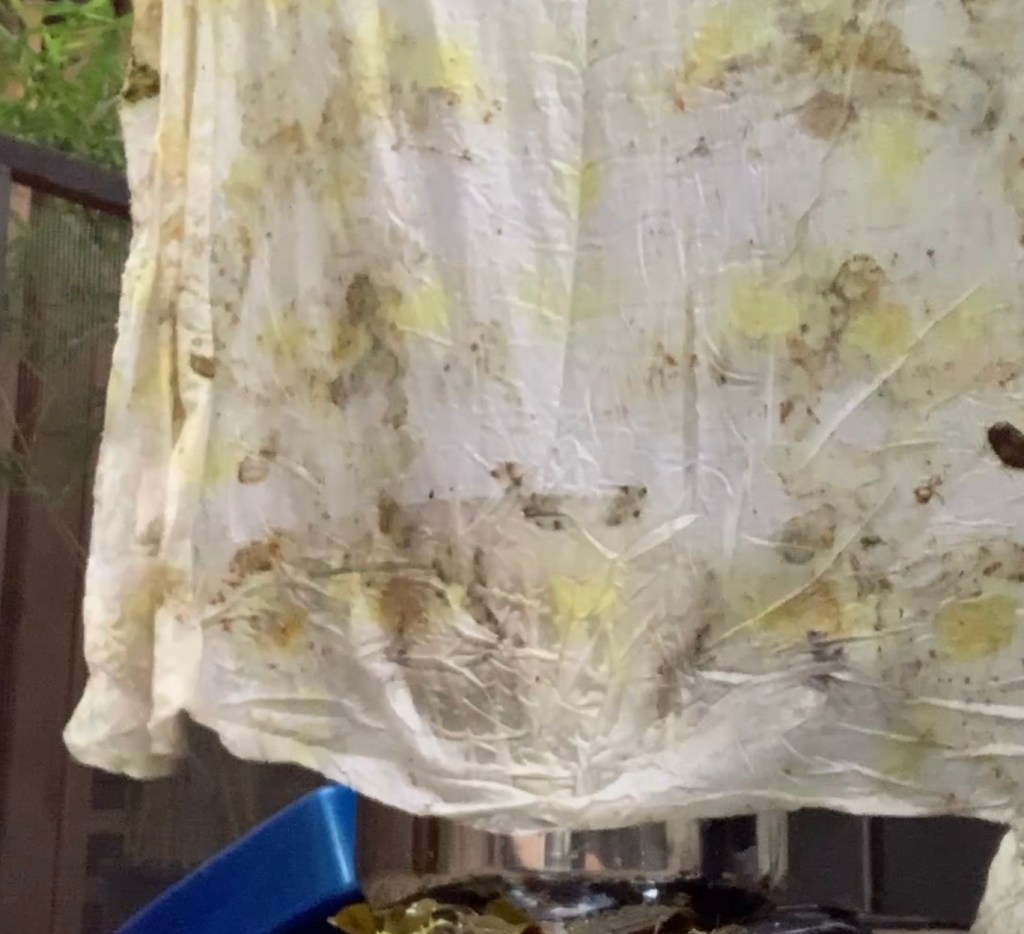
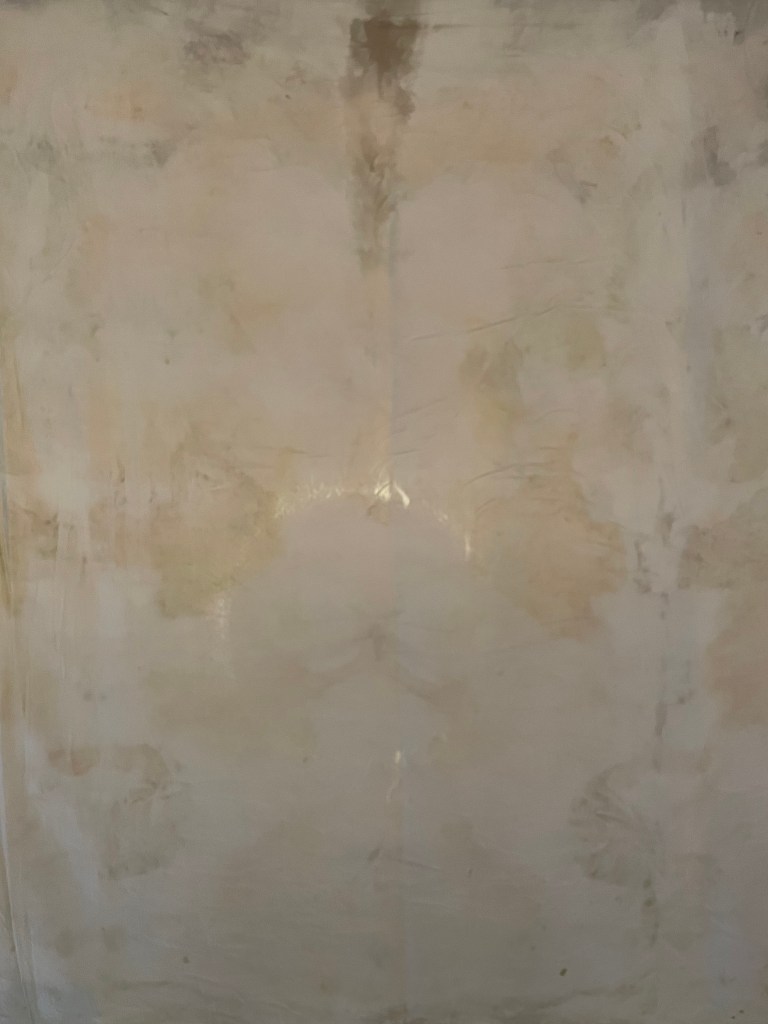
On Wednesday I woke up early before class to unravel my bundles and and reveal the results. I was very happy. The bundles with eucalyptus and lichen were stunning! The lichen created an incredible neon effect while the eucalyptus gave it some visual texture. The cedar soaked in metal water did roughly what I was expecting. I thought I might get some clearer cedar shapes but it was covered in well dispersed black flecks. The chard fabric was disappointing at first but it did take on some rusty red/brown color. Once it was washed and dried I actually really appreciated the subtly of the colors. I haven’t decided if I will sew this piece up as is or I might over dye it with the massive rail screws I have. I am going to take some time to sit with this piece and visualize what I want to do before I decide.


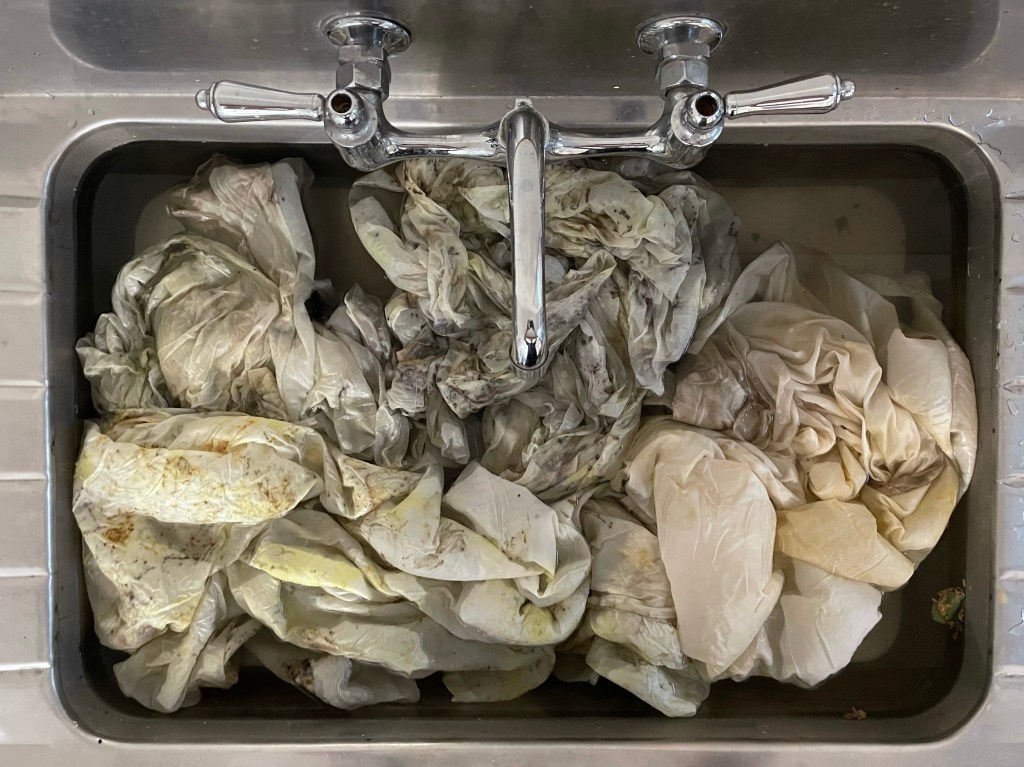
Viewing these now is just the start though. The next step was to wash them which usually develops the strength of the colors in striking ways! I also set aside some extra mordanted fabric to boil with the avocado pits hoping I will get a nice subtle pink watercolor effect. They won’t be done as part of this project but since I have the hard parts done I might just do them over the weekend and hopefully make another blog post.
The panels were later washed in the sink by hand to clean them of any left over plant debris then were popped into the washing machine for a little more of a deep clean. I know it’s a faux pas to wash silk like this but I never find it to be an issue and it tends to further develop the colors brilliantly.
I was unable to keep my phone call appointment with Caitlin Ffrench because I had to covid test for work on Thursday during that time slot. We rebooked for later in the day but I forgot with all my school work! I never forget things like that! Lucky for me she forgave me and we had a late call about what is available in the region right now. I explained I don’t want to work with brown colors because my main interest is designing lingerie and I am not a fain of unidentifiable brown spots on underwear. She concurred that she would probably not want to dye for lingerie without using an iron bath as well which brings out the darker blues and blacks in a lot of things. Caitlin doesn’t do much foraging this time of year herself though she was encouraging that it is coming up on pruning season and recommended a few trees people would be trimming back right now. She personally keeps a deep freeze full of plant that she can’t store in her copious library of jarred items. She did give me a nice little list of items she would recommend this time of year for my next dye project and insisted over and over that I could come over to her house and use her stores.
Recommendations:
- Stone fruit trimings such as peaches, apples, plums et
- Red leaf maple
- Arbutus bark
- Birch tree
- Pinecones for a reddish brown
- To play around with the ph of the water for different colors with standard plants.

Finches finally got back to me and they agreed to collect some food scraps for me on an ongoing basis. Too late for this project but not too late for future projects or to start collecting all over again.


I am really thrilled with the way these panels turned out. This experience was full of starts and stops. Lots of feeling unproductive or counter productive than spurts of ideas and surprises. It really wasn’t until I sat down to compile what I completed that I actually started feeling good about what I accomplished. One thing we have been focusing on in recent class discussions is not to be so focused on accomplishments or productivity and that is the part I have the hardest time with. We have had brilliant discussions, in class, about the process, and the experience but I am still not sure how to best embody that approach for myself. I am so identified to productivity it is hard for me to feel that my work and time is validated when I detach it from productivity. I am currently still planning on making a dress from hand dyed fabric for my next prompt in order to complete this idea but I am hoping I can find a way to remove the attachment to productivity into the next prompt while still feeling that I completed the work. I will have plenty of time to think about what that looks like between now and then.

PS. Thank you so much to my partner Gregory who was a huge help over the past two weeks in taking care of the house, cleaning up after me (daily routine and homework related mess), feeding me, taking care of our little farm and being overall dreamy. I am not sure what I am going to do when he goes back to work!

Leave a comment